
Securing a Virtual Machine with LUKS Encryption and Best Practices on VMware: A Step-by-Step Guide#

INTRODUCTION#
This documentation provides a step-by-step guide to configuring and securing a virtual machine (VM) using VMware. The primary objectives are to establish a secure and isolated environment following best practices in access control, network segmentation, and data encryption. By the end of this setup, the VM will be protected against unauthorized access and equipped with essential security configurations, making it a robust platform for further development or testing.
N/B
I will focus my attention on Data Encryption:
- In Virtual machine, use LUKS encryption to encrypt your VM’s hard disk.
- Run: sudo cryptsetup luksFormat /dev/sda
- Enter a passphrase to encrypt the disk.
I understand that creating a new virtual machine in VMWARE can now be done by anybody in IT.**So I will not focus much of my attention to it.
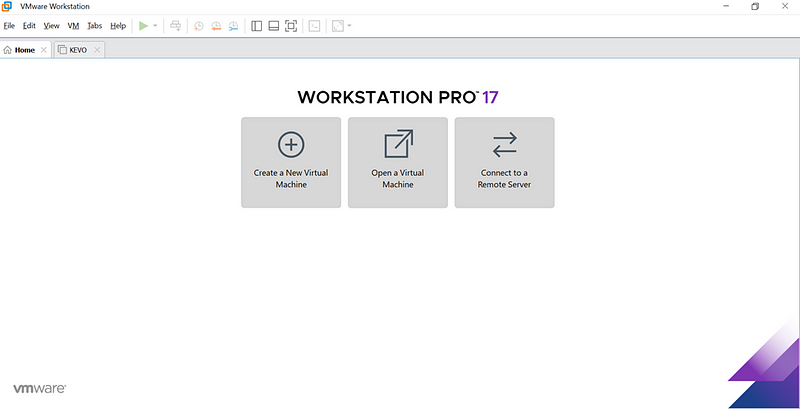
Step 1: Create a New Virtual Machine in VMware
- Open VMware:
Launch VMware Workstation or VMware Player.
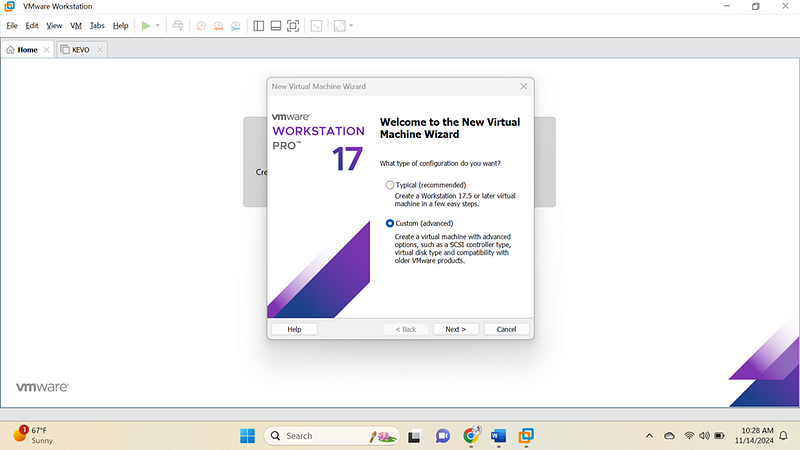
2. Create a New VM:
- Click on “Create a New Virtual Machine”.
After the download create the new virtial machine.
- Select “Custom” (advanced) or “Typical” setup depending on your preference.
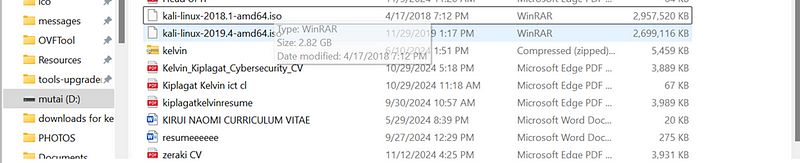
3. Select Installer Disc Image (ISO):
- Choose “Installer disc image file (ISO)” and locate the Ubuntu ISO you downloaded.
- If you haven’t downloaded it yet, get it from Kali Linux Download Page
4. Configure Hardware Resources:
- RAM: Set at least 2 GB.
- Disk Space: Allocate at least 20 GB.
- Processor: Choose 1–2 processors, depending on your machine’s capacity.
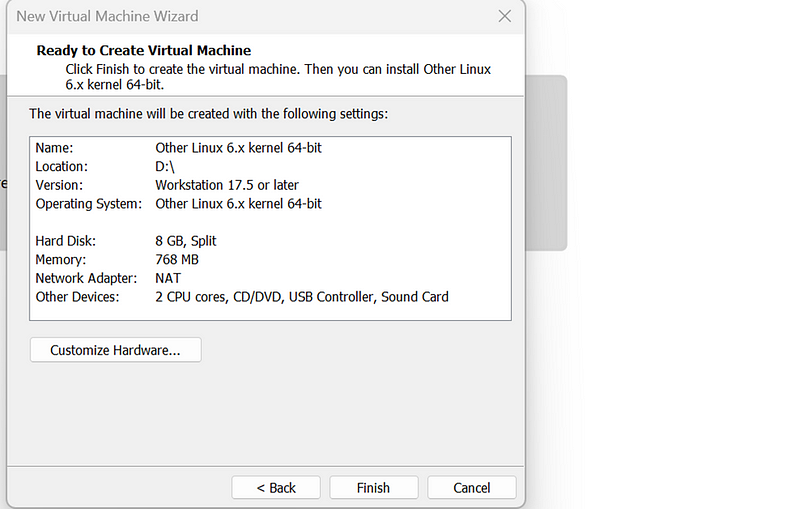
5. Complete the VM Setup:
- Finish the setup and power on the VM to begin the OS installation.
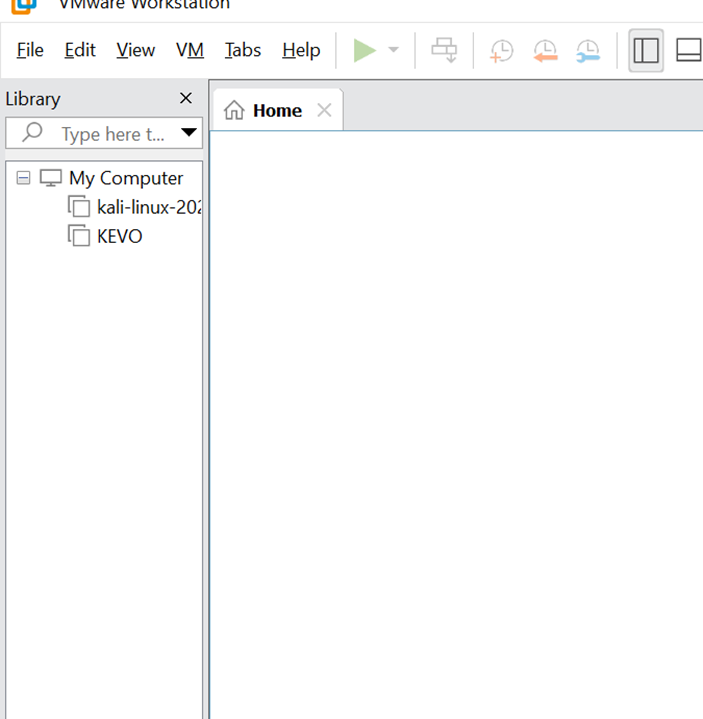
We have already finish setting up and this are my operating system at the left bar
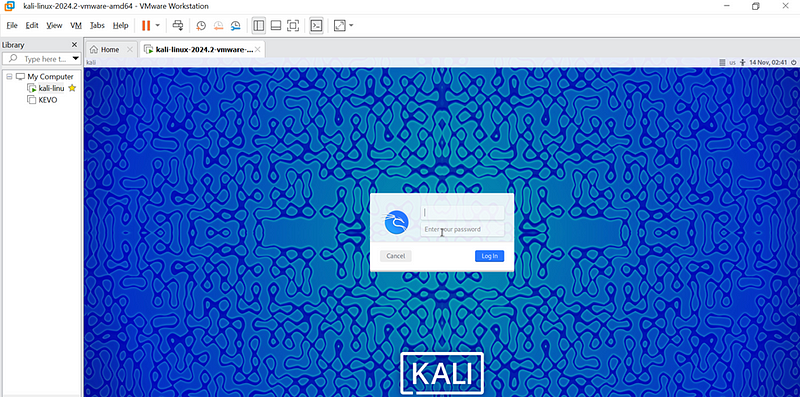
Step 2: Install and Configure KALI-LINUX on the VM
- Install KALI-LINUX:
- Follow the prompts in kali-linux to complete the installation.
- Choose a strong password for the root account when setting up user credentials.
Step 3: Secure the Kali Linux VM
In this step, you’ll apply some basic security configurations to Kali Linux to improve its resilience against unauthorized access and attacks.
1. Update the System:
- Open a terminal in your Kali VM.
- Run the following commands to ensure the system has the latest updates and patches:
sudo apt update && sudo apt upgrade -y

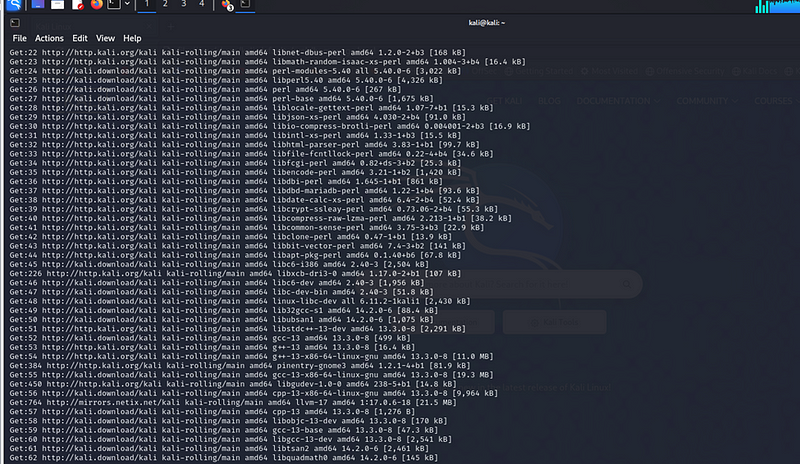
System Update Output Summary: The terminal output after running sudo apt update && sudo apt upgrade -y confirms that all package repositories were successfully updated, and available upgrades for installed packages were applied. This step is crucial in securing the VM
2. Set Up a Strong Firewall:
- Kali Linux includes UFW (Uncomplicated Firewall) as a simple firewall tool. To configure it:
sudo apt install ufw -y
sudo ufw enable
sudo ufw default deny incoming
sudo ufw default allow outgoing

- Allow SSH (if you need remote access):
sudo ufw allow ssh
sudo ufw status verbose

3. Configure Automatic Security Updates:
- Install unattended-upgrades to enable automatic updates:
sudo apt install unattended-upgrades -y
sudo dpkg-reconfigure -plow unattended-upgrades
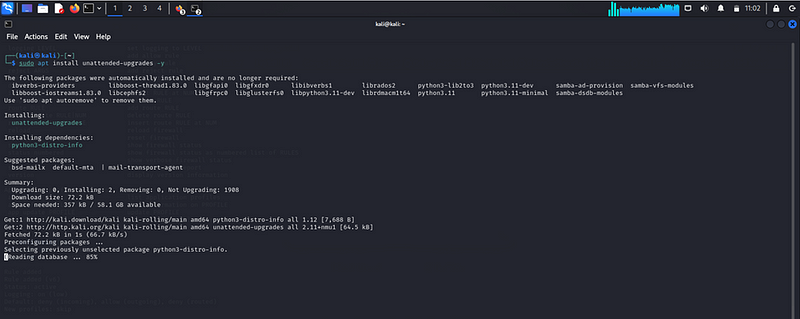
Enabling Automatic Updates: To ensure the system remains secure and up to date, it’s important to enable automatic updates. This can be done by configuring unattended-upgrades, which automatically installs security updates without user intervention. Regularly applying security patches helps protect the system from known vulnerabilities, reducing the risk of exploits that could compromise the VM. Automatic updates ensure that critical patches are installed as soon as they’re available, maintaining system integrity and minimizing potential security threats.
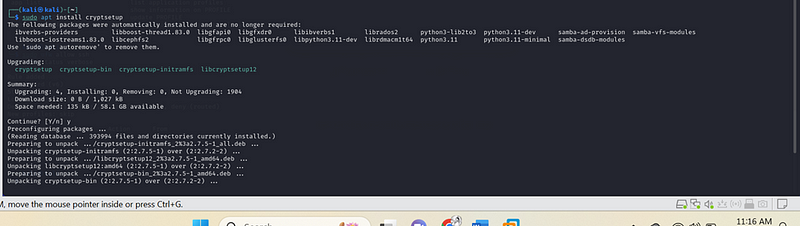
4. Enable Disk Encryption (Optional but Recommended):
- If you want to encrypt data at rest, you can use LUKS (Linux Unified Key Setup) encryption for sensitive directories.
- To encrypt a specific directory:
sudo apt install cryptsetup
- Choose the Directory to Encrypt:
Verify File Format:
Ensure that the file /home/kali/Pictures/encrypted_container.img
is a valid LUKS-encrypted volume.

n/b the file is not compatible so let make it compatible
LUKS encryption is typically used with block devices like disk partitions or disk image files, not just any file. If you created an encrypted file, it should be in a specific format.
- Check if the file is a valid LUKS volume:
sudo cryptsetup luksDump /home/kali/Pictures/ encrypted_container.img
Still returns an error.
If this command returns detailed information about the encryption setup, it means the file is indeed LUKS-encrypted.
If it returns an error, the file is likely not encrypted with LUKS.
- If You Are Trying to Encrypt a Regular File:
If you’re trying to encrypt a regular file (like encrypted_container.img), LUKS does not directly support encrypting individual files like that.
Solution: If you want to encrypt a file, you would typically create an encrypted container using a disk image file.
- Steps to create an encrypted file container:
a. Create an empty file (for the encrypted container):
dd if=/dev/zero of=/home/kali/Pictures/encrypted_container.img bs=1M count=100

This creates a 100 MB file called encrypted_container.img.
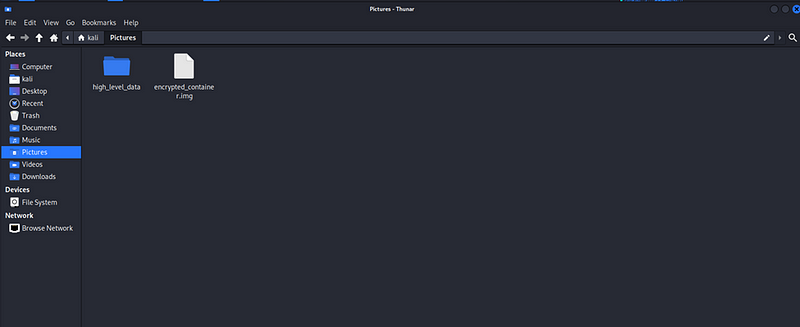
A container has also been created
b. Format it as LUKS:
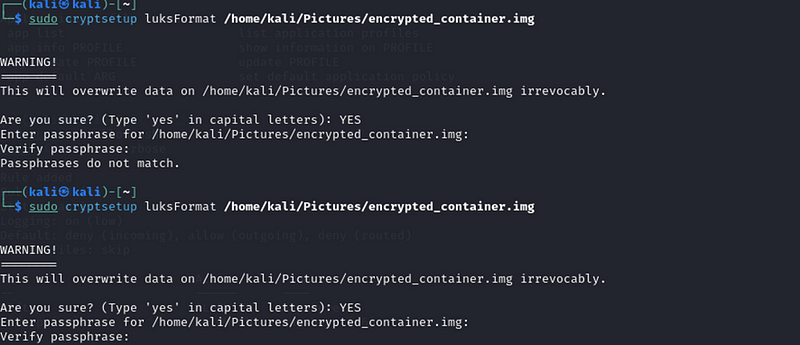
sudo cryptsetup luksFormat /home/kali/Pictures/encrypted_container.img
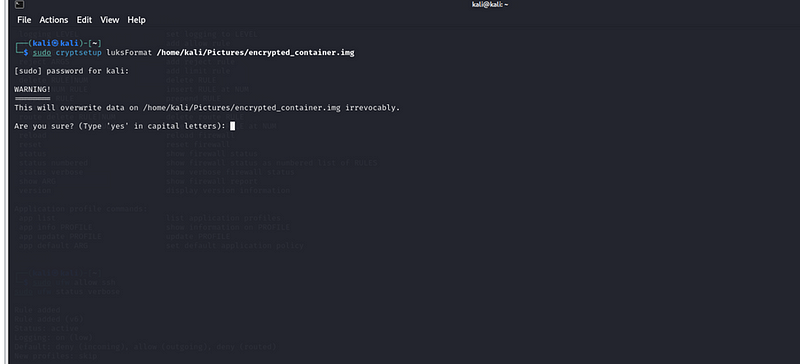
You will be asked to confirm and set a password for the encrypted file.
You will be asked to verify the passphrase
c. Open the LUKS volume:
sudo cryptsetup luksOpen /home/kali/Pictures/encrypted_container.img my_encrypted_data

This command successfully opened the encrypted file (encrypted_container.img) with the name my_encrypted_data. It is now treated as an encrypted virtual device, and the system has asked for the passphrase you set earlier during the luksFormat step.
If You Want to Encrypt a Directory: If your goal is to encrypt a directory and not just a single file, the process is a bit more involved. One method is to use EncFS or eCryptfs to create an encrypted directory where you can store files securely.
Alternative: Using LUKS for Full Disk Encryption: If you are working with disk partitions or images for full disk encryption, you will need to ensure that the device is set up properly to be used with LUKS.
d. Create a Filesystem on the Encrypted Container:
Once the container is opened, you need to create a filesystem on it to store data. In this example, we are using the ext4 filesystem:
sudo mkfs.ext4 /dev/mapper/my_encrypted_data

· This command formats the encrypted container with an ext4 filesystem.
The output you’re seeing is from the mkfs.ext4 command, which is used to create a new ext4 filesystem on a device or file. Let’s break down the messages to help you understand what’s happening:
Breakdown of the Output:
- mke2fs 1.47.1 (20-May-2024):
This line hows the version of the mke2fs tool (part of the e2fsprogs package) and the date it was released. This tool is responsible for creating ext2, ext3, and ext4 file systems in Linux. - Creating filesystem with 21504 4k blocks and 21504 inodes:
- 21504 4k blocks:
This means the filesystem is being created with 21,504 blocks, each of 4 KB (kilobytes). A “block” is the smallest unit of storage on the filesystem. - 21504 inodes:
Inodes are data structures that store metadata about files, such as the file’s owner, permissions, timestamps, and pointers to the file’s actual data. The number 21,504 indicates the number of inodes being created for this filesystem.
- Allocating group tables: done:
The filesystem is divided into groups for efficient management. Each group has its own table to track blocks, inodes, and other important information. This message indicates that the group tables have been successfully created. - Writing inode tables: done:
The inode tables, which hold information about files and directories, have been successfully written to the disk.]{#8009} - Creating journal (1024 blocks): done:
The ext4 filesystem has a feature called a “journal,” which keeps track of changes made to the filesystem. This ensures that if the system crashes, it can recover to a consistent state. The journal is being created with 1024 blocks. done**:
The superblock is a key data structure in a filesystem that holds important information like the filesystem size, block size, free block count, and more. This message means the superblock and other related accounting information have been successfully written to the disk.
Conclusion:
In simple terms, these messages indicate that you’ve successfully created a new ext4 filesystem on your encrypted container. The system has set up all the necessary structures (blocks, inodes, journal, etc.) to allow you to store and manage files securely in that encrypted container.
e. Mount the Encrypted Container:
Next, you need to mount the encrypted container to access it like a normal directory:
sudo mkdir /mnt/encrypted_data # Create a mount point
sudo mount /dev/mapper/my_encrypted_data /mnt/encrypted_data # Mount the encrypted container

.Now, you can use /mnt/encrypted_data to store files securely. Any files you store here will be encrypted at rest.
f. Navigate to the file system which is encrypted
To navigate the filesystem in Linux, you can use the following commands:
1. Check current directory
First, check where you are in the filesystem:
Pwd

This will print the current directory you’re in.
2. Navigate to the encrypted container mount point
If you’ve already mounted the encrypted container to /mnt/encrypted_data, you can navigate to this directory using:
cd /mnt/encrypted_data

After running this command, you will be inside the /mnt/encrypted_data directory, which represents the mounted encrypted container.
3. List contents of the current directory
To see what’s inside the /mnt/encrypted_data directory (it might be empty at first), run:
Ls

If there are no files, you won’t see any output. If you see any files, they will be listed.
4. Create a new file inside the encrypted container
To create a new file inside the container, you can use the touch command:
touch newfile.txt

This will create an empty file named newfile.txt inside /mnt/encrypted_data.
5. Add content to the file
To add content to the newly created file, you can use a text editor like nano:
nano newfile.txt
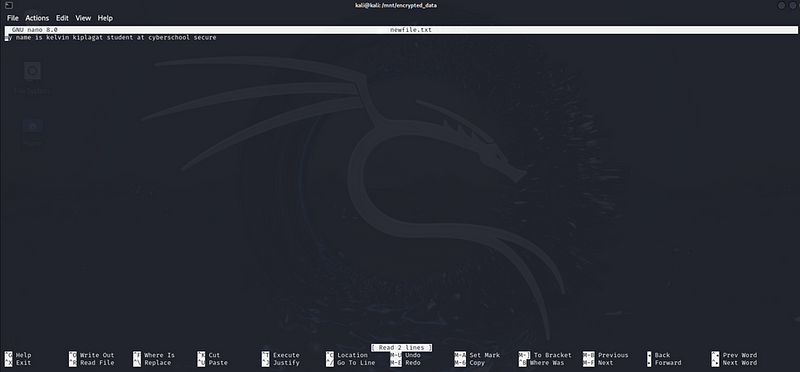
This will open the file in the nano text editor. Type some text and save the file by pressing CTRL + O (to write out) and then ENTER. Exit nano by pressing CTRL + X.
6. Check if the file was created
After creating the file, you can list the contents again:
ls

You should now see newfile.txt listed in the output.
7. Unmount the encrypted container
Once you’re done working with the files in the encrypted container, don’t forget to unmount it:
sudo umount /mnt/encrypted_data

Now, you’ve successfully navigated to your encrypted container, created a file, and added content. You can repeat this process to work with more files inside the encrypted container.
In this setup, LUKS encryption was enabled on the Kali Linux VM to secure sensitive directories. This encryption ensures that the data stored in these directories remains protected, even if the underlying storage medium is compromised. The encryption process used a passphrase for protection, which must be entered every time the encrypted volume is mounted. Encrypting sensitive data provides a strong layer of security by preventing unauthorized access to important files, making it a crucial step in protecting data at rest.
By Kiplagatkelvin{.p-author .h-card} on November 14, 2024.
Canonical link{.p-canonical}
Exported from Medium on February 13, 2025.